

Deploy
Deploy a Hugging Face Model
Register any Hugging Face model as a custom model and deploy it on dedicated GPUs.
Beta. Custom model registration is in beta. Reach out to the team to have it enabled for your account before you start.
Custom models let you deploy any public or private Hugging Face model on dedicated GPUs. You register the model in the dashboard, choose the GPUs it can run on, and create a deployment. The deployment gets an OpenAI-compatible endpoint you call like any other.
Open the My Models tab
Open the dashboard, go to Models, and switch to the My Models tab. Custom models appear next to your fine-tuned models.
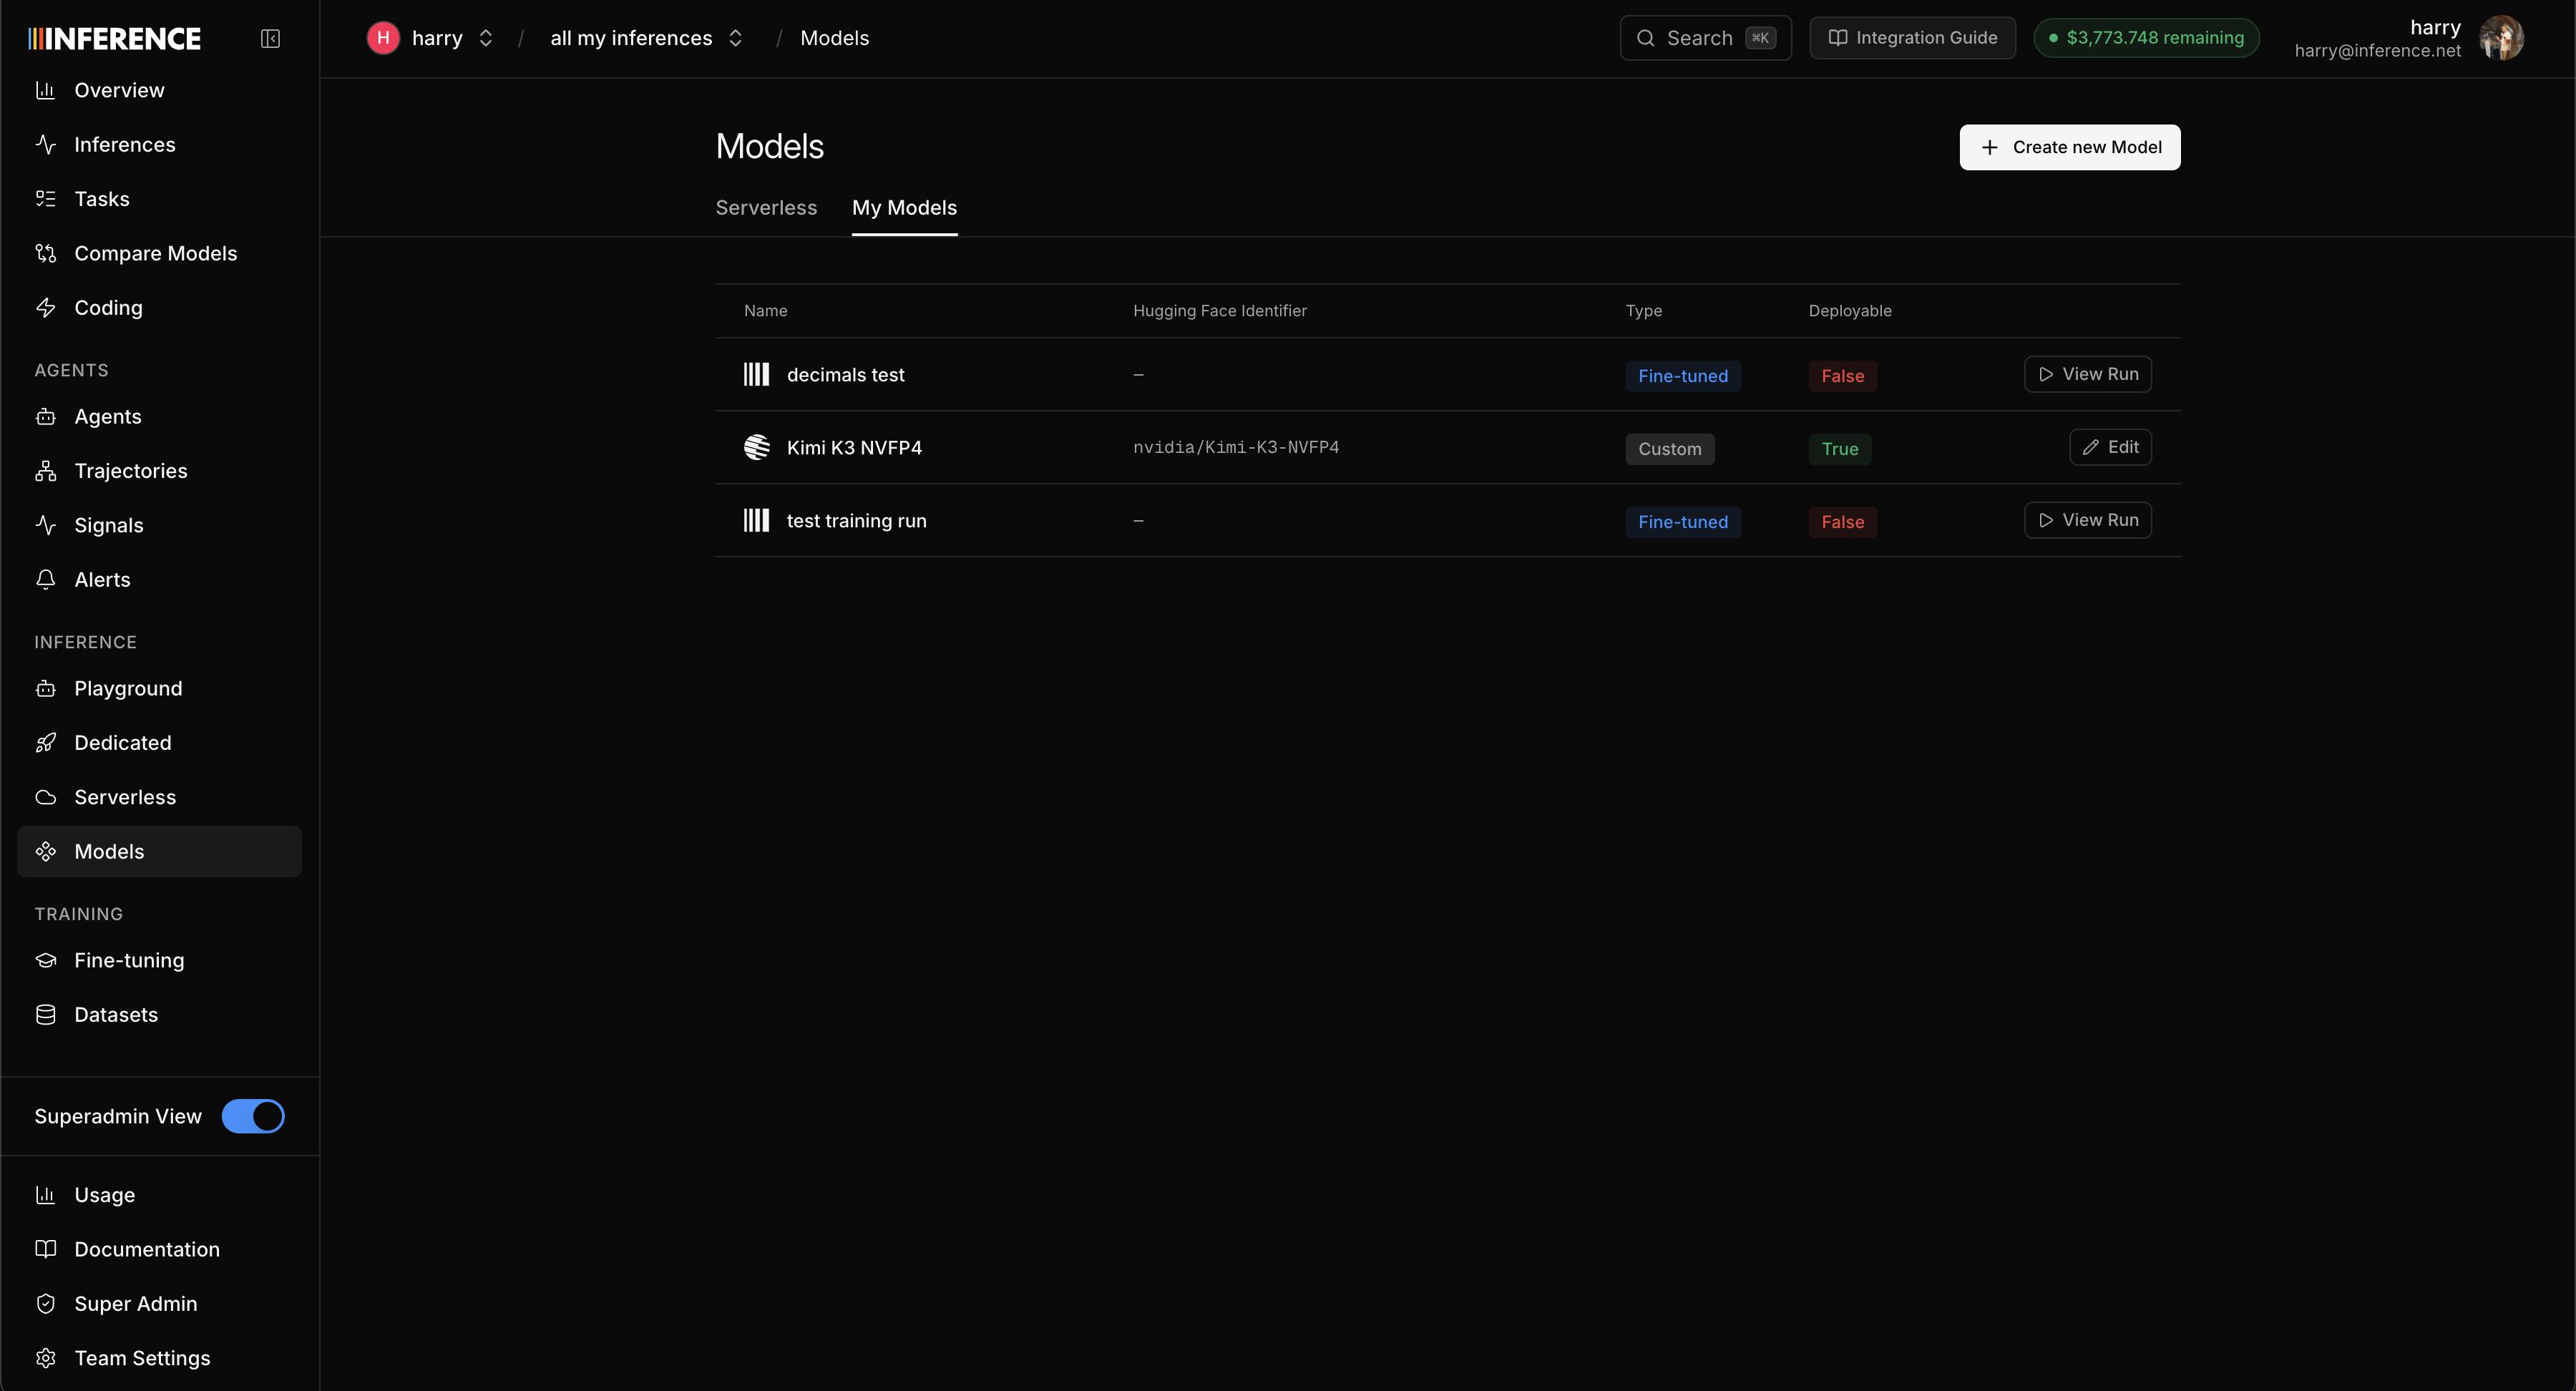
Create a new model
Click Create new Model on the My Models tab. This opens the new model form, where you register a Hugging Face model your team can deploy.
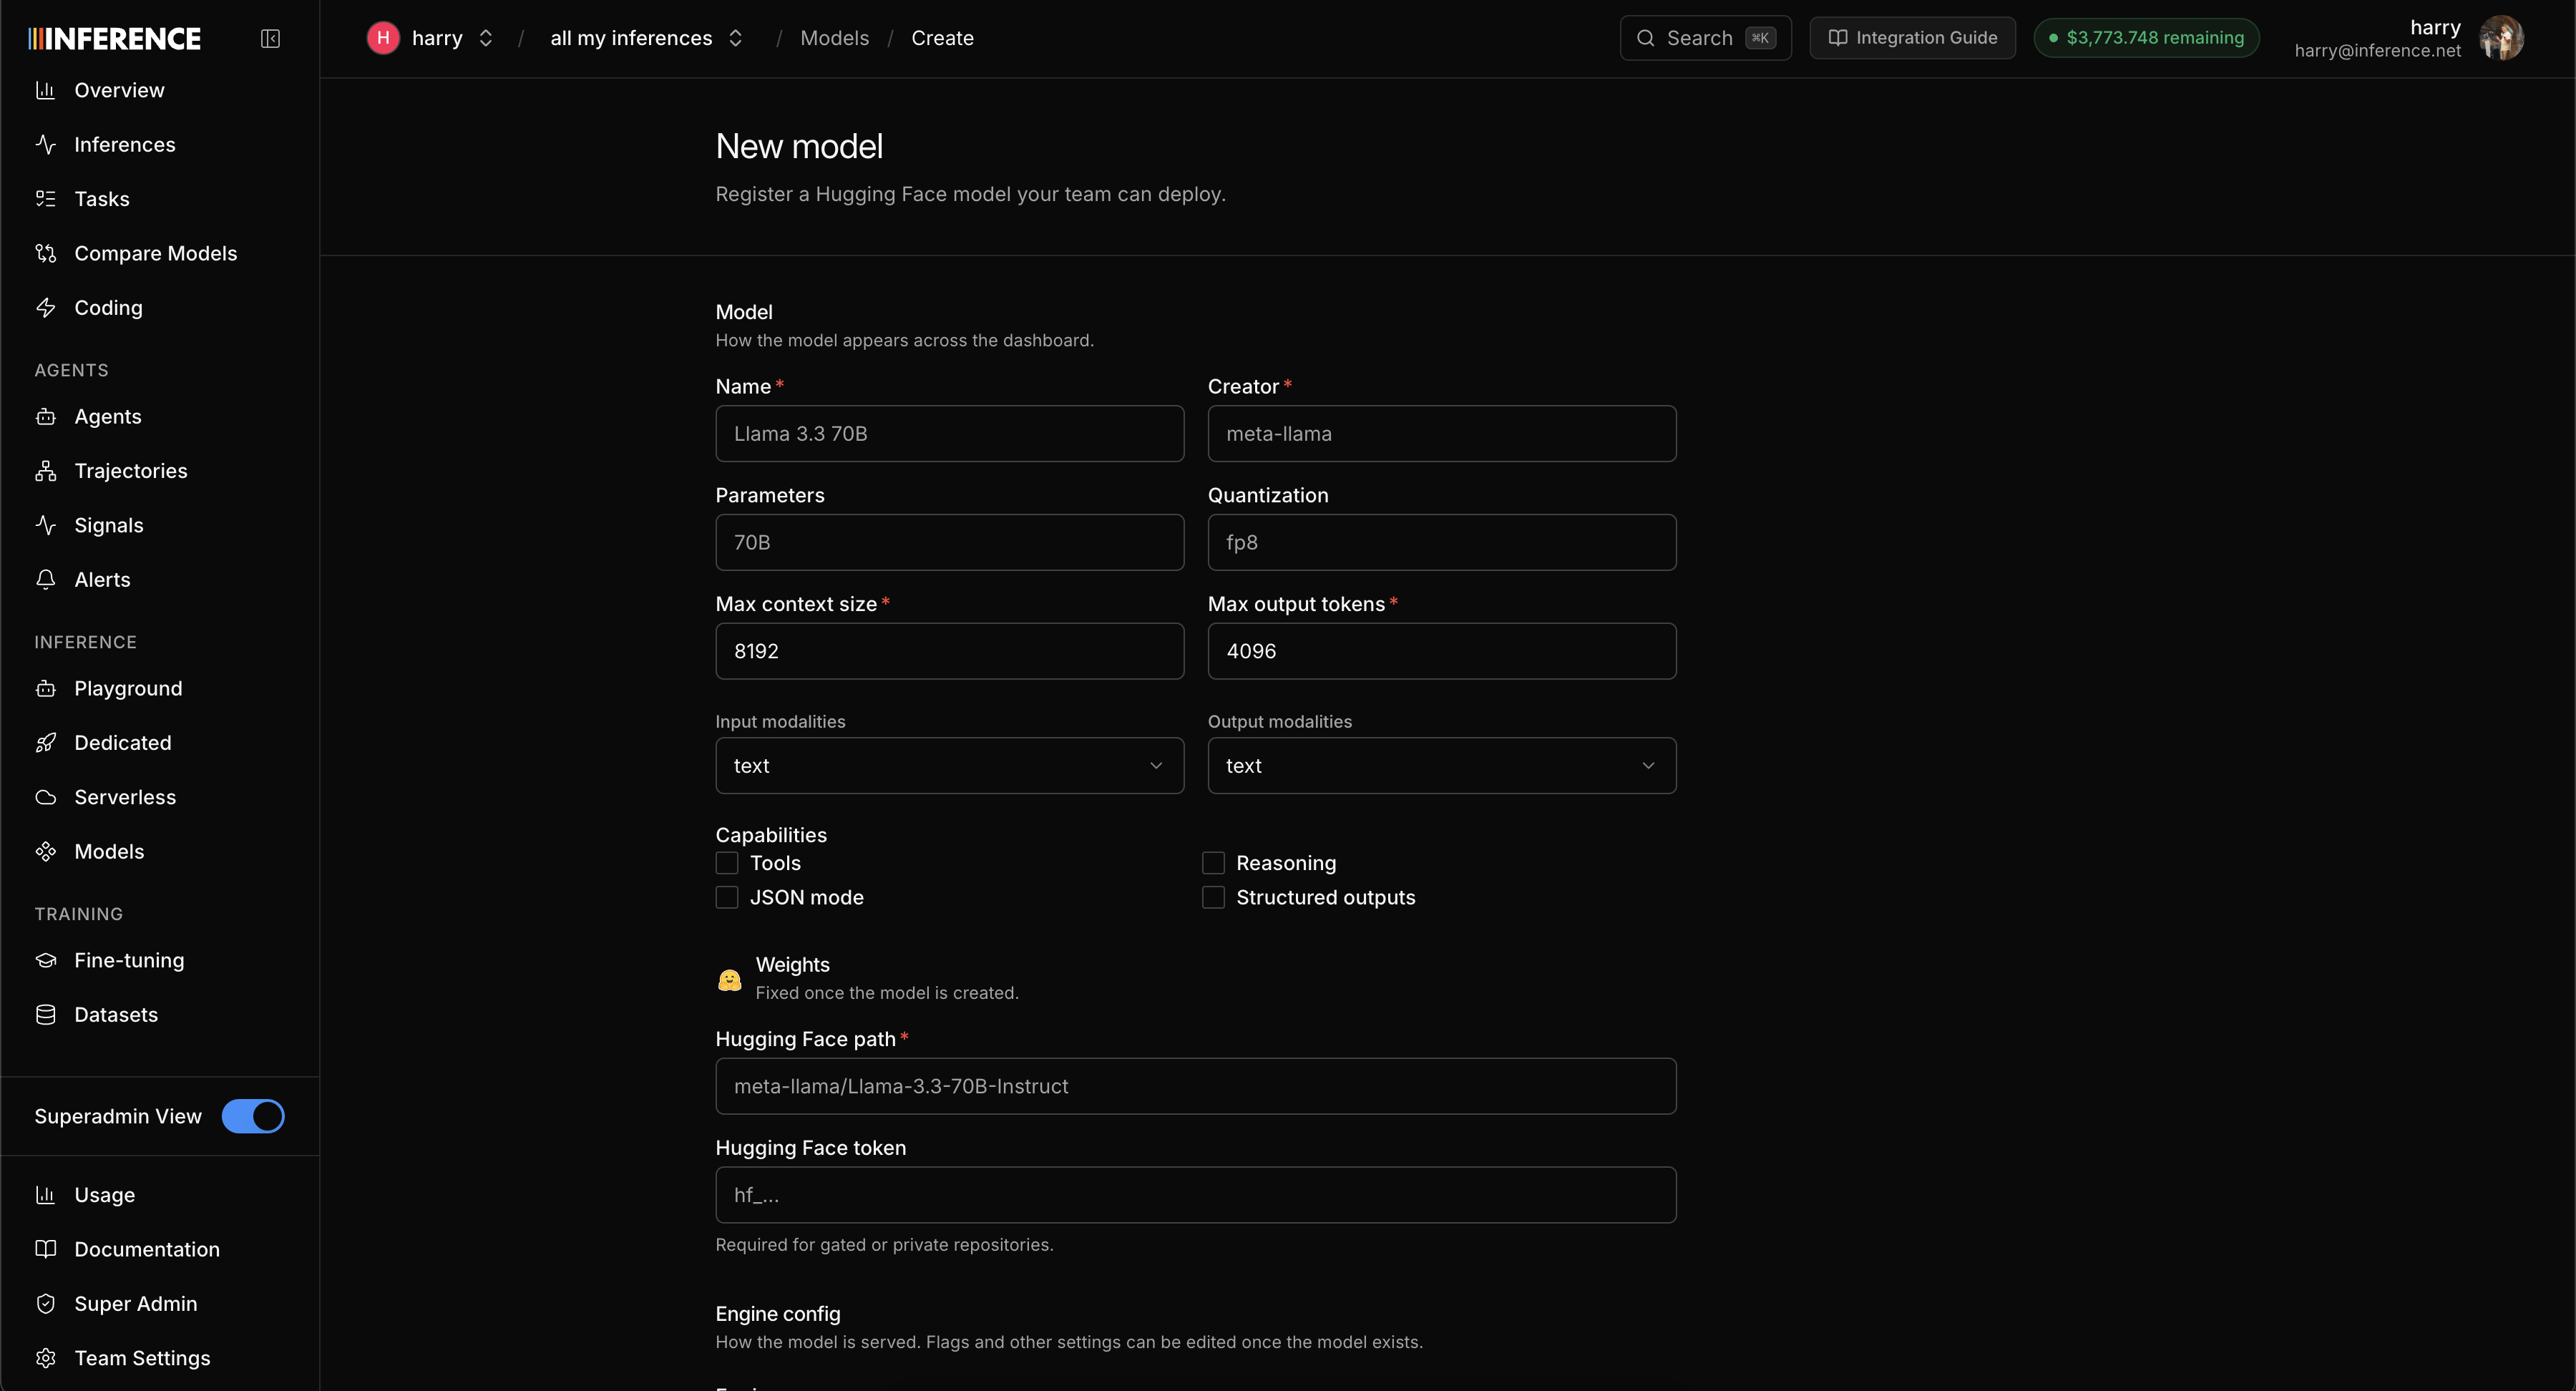
Fill in the model details
Fill in the model details and pick the GPUs you want the model to run on.
You can pick 1-2 H100s or H200s only. If you need other cards or larger instance sizes, reach out to the team.
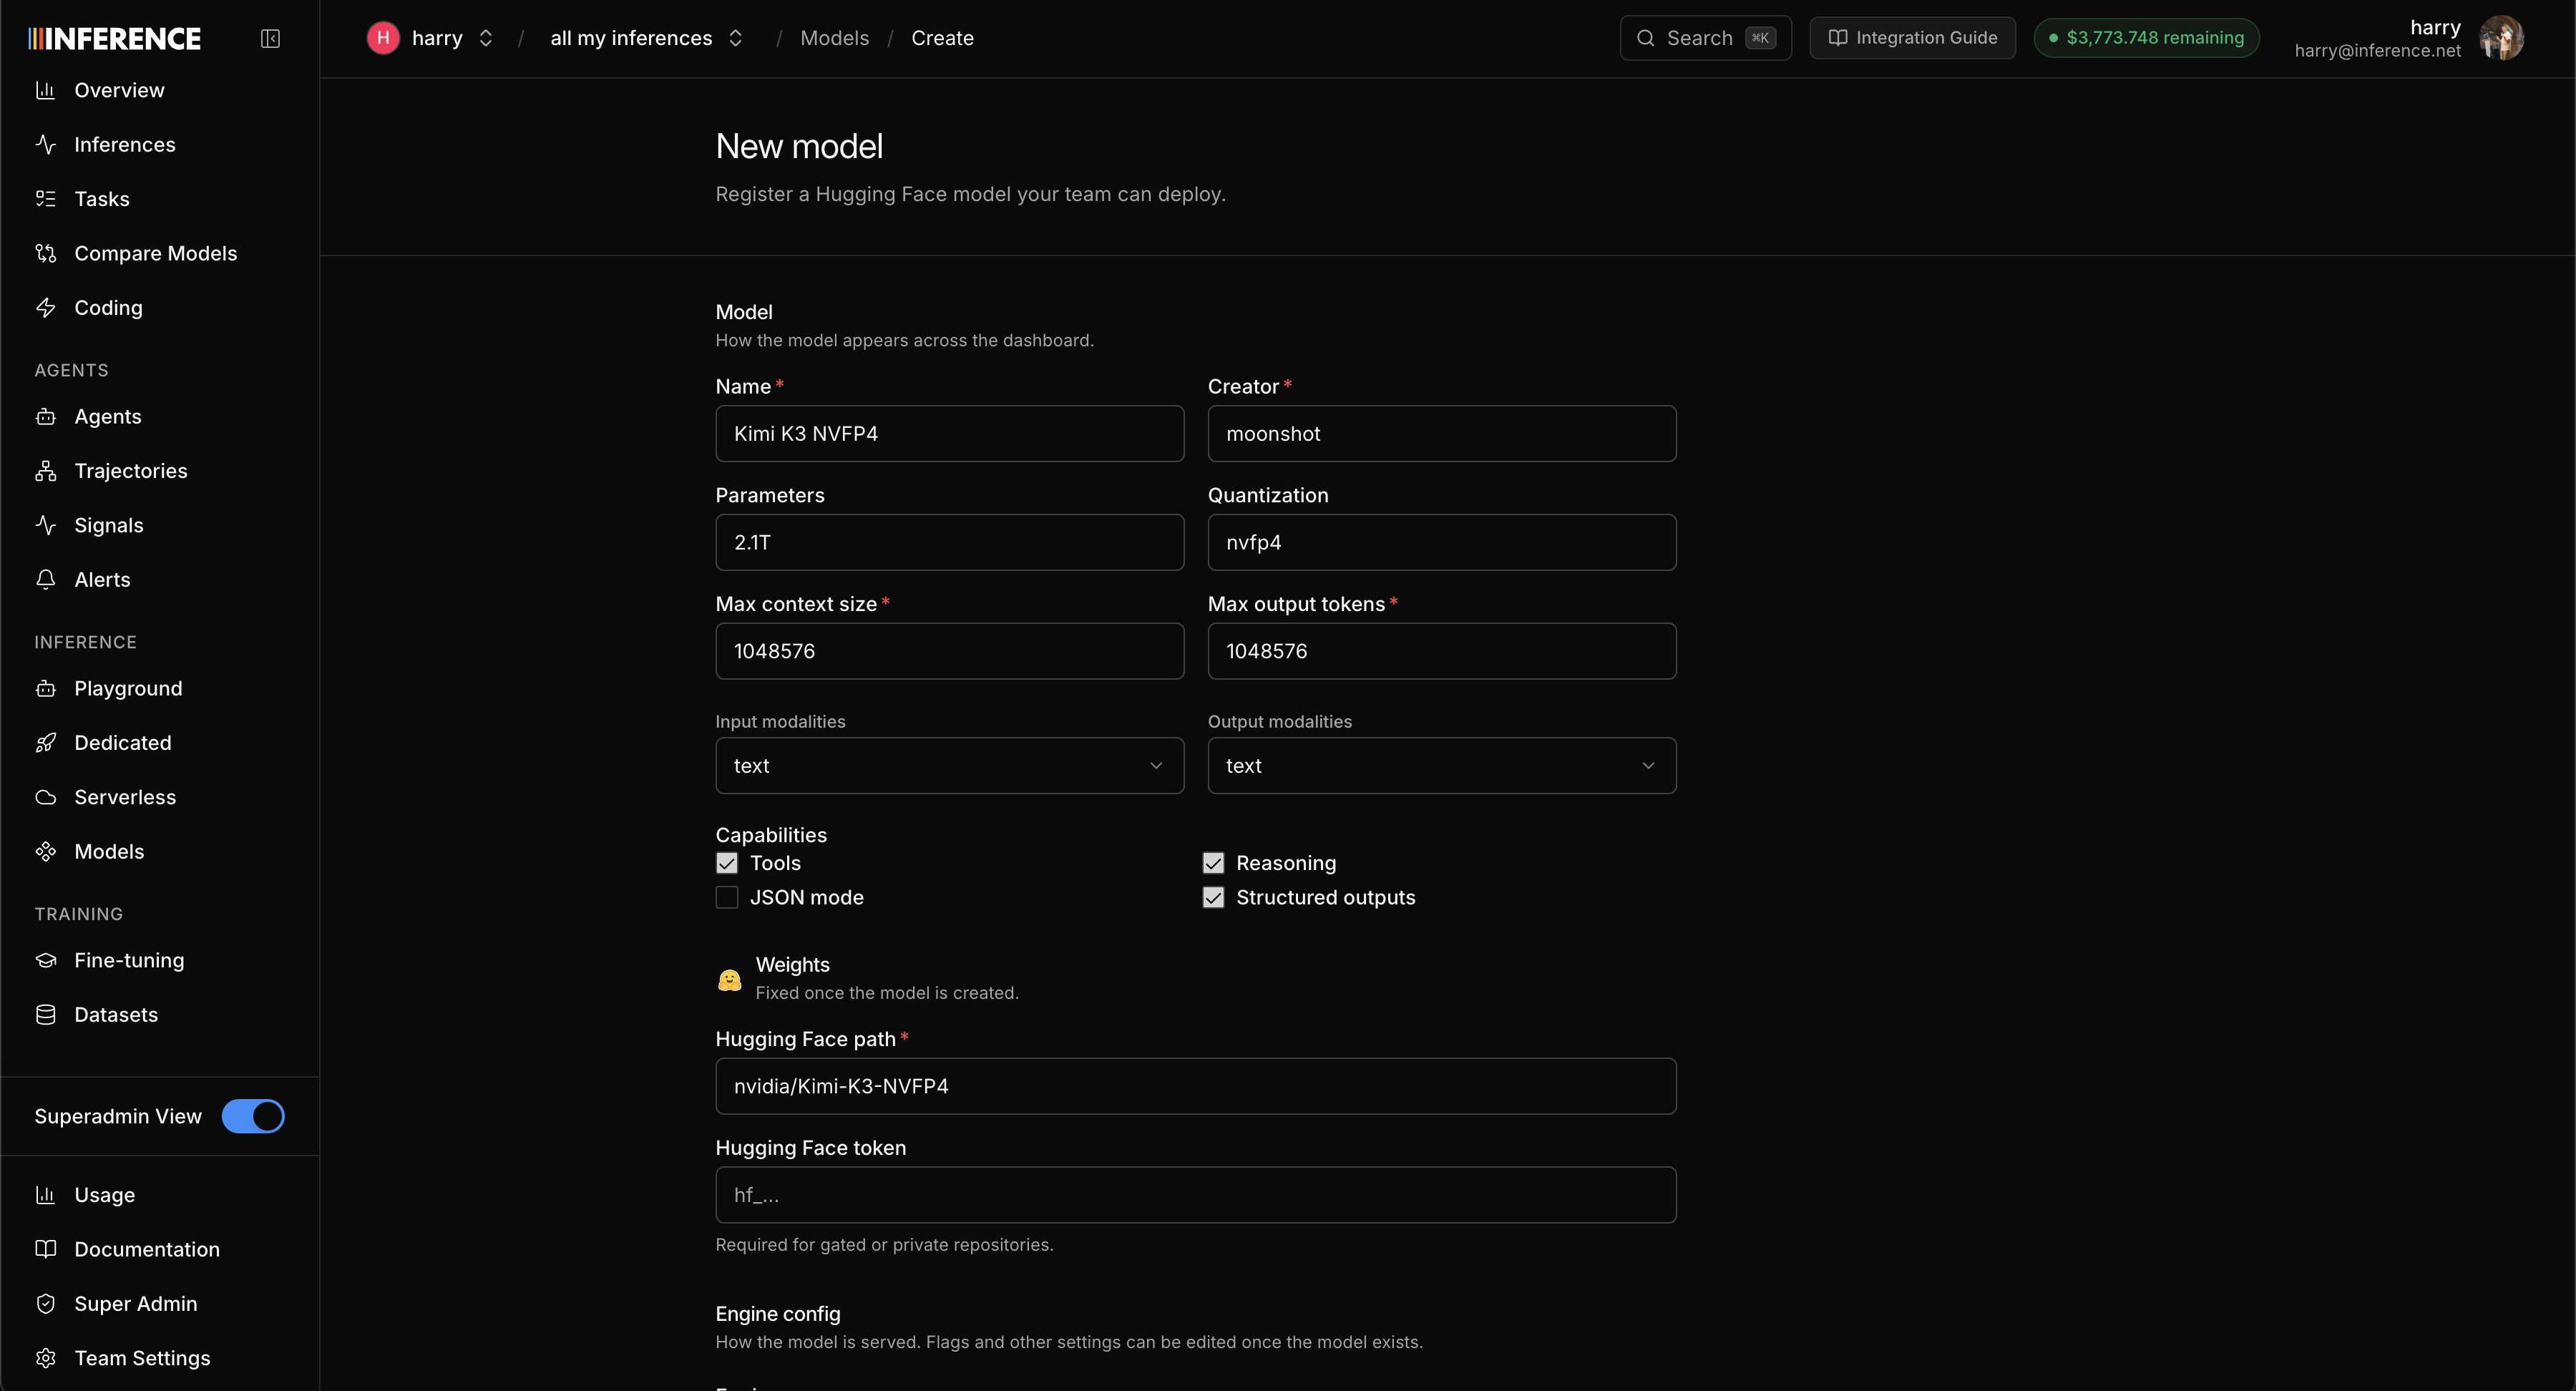
Tweak the engine config
Once the model is created, you can tweak its engine config. The config controls how the model is served: the engine (vLLM or SGLang), the compatible GPUs, and the engine flags. Saving creates a new version of the config. Running deployments keep their current version until they roll forward.
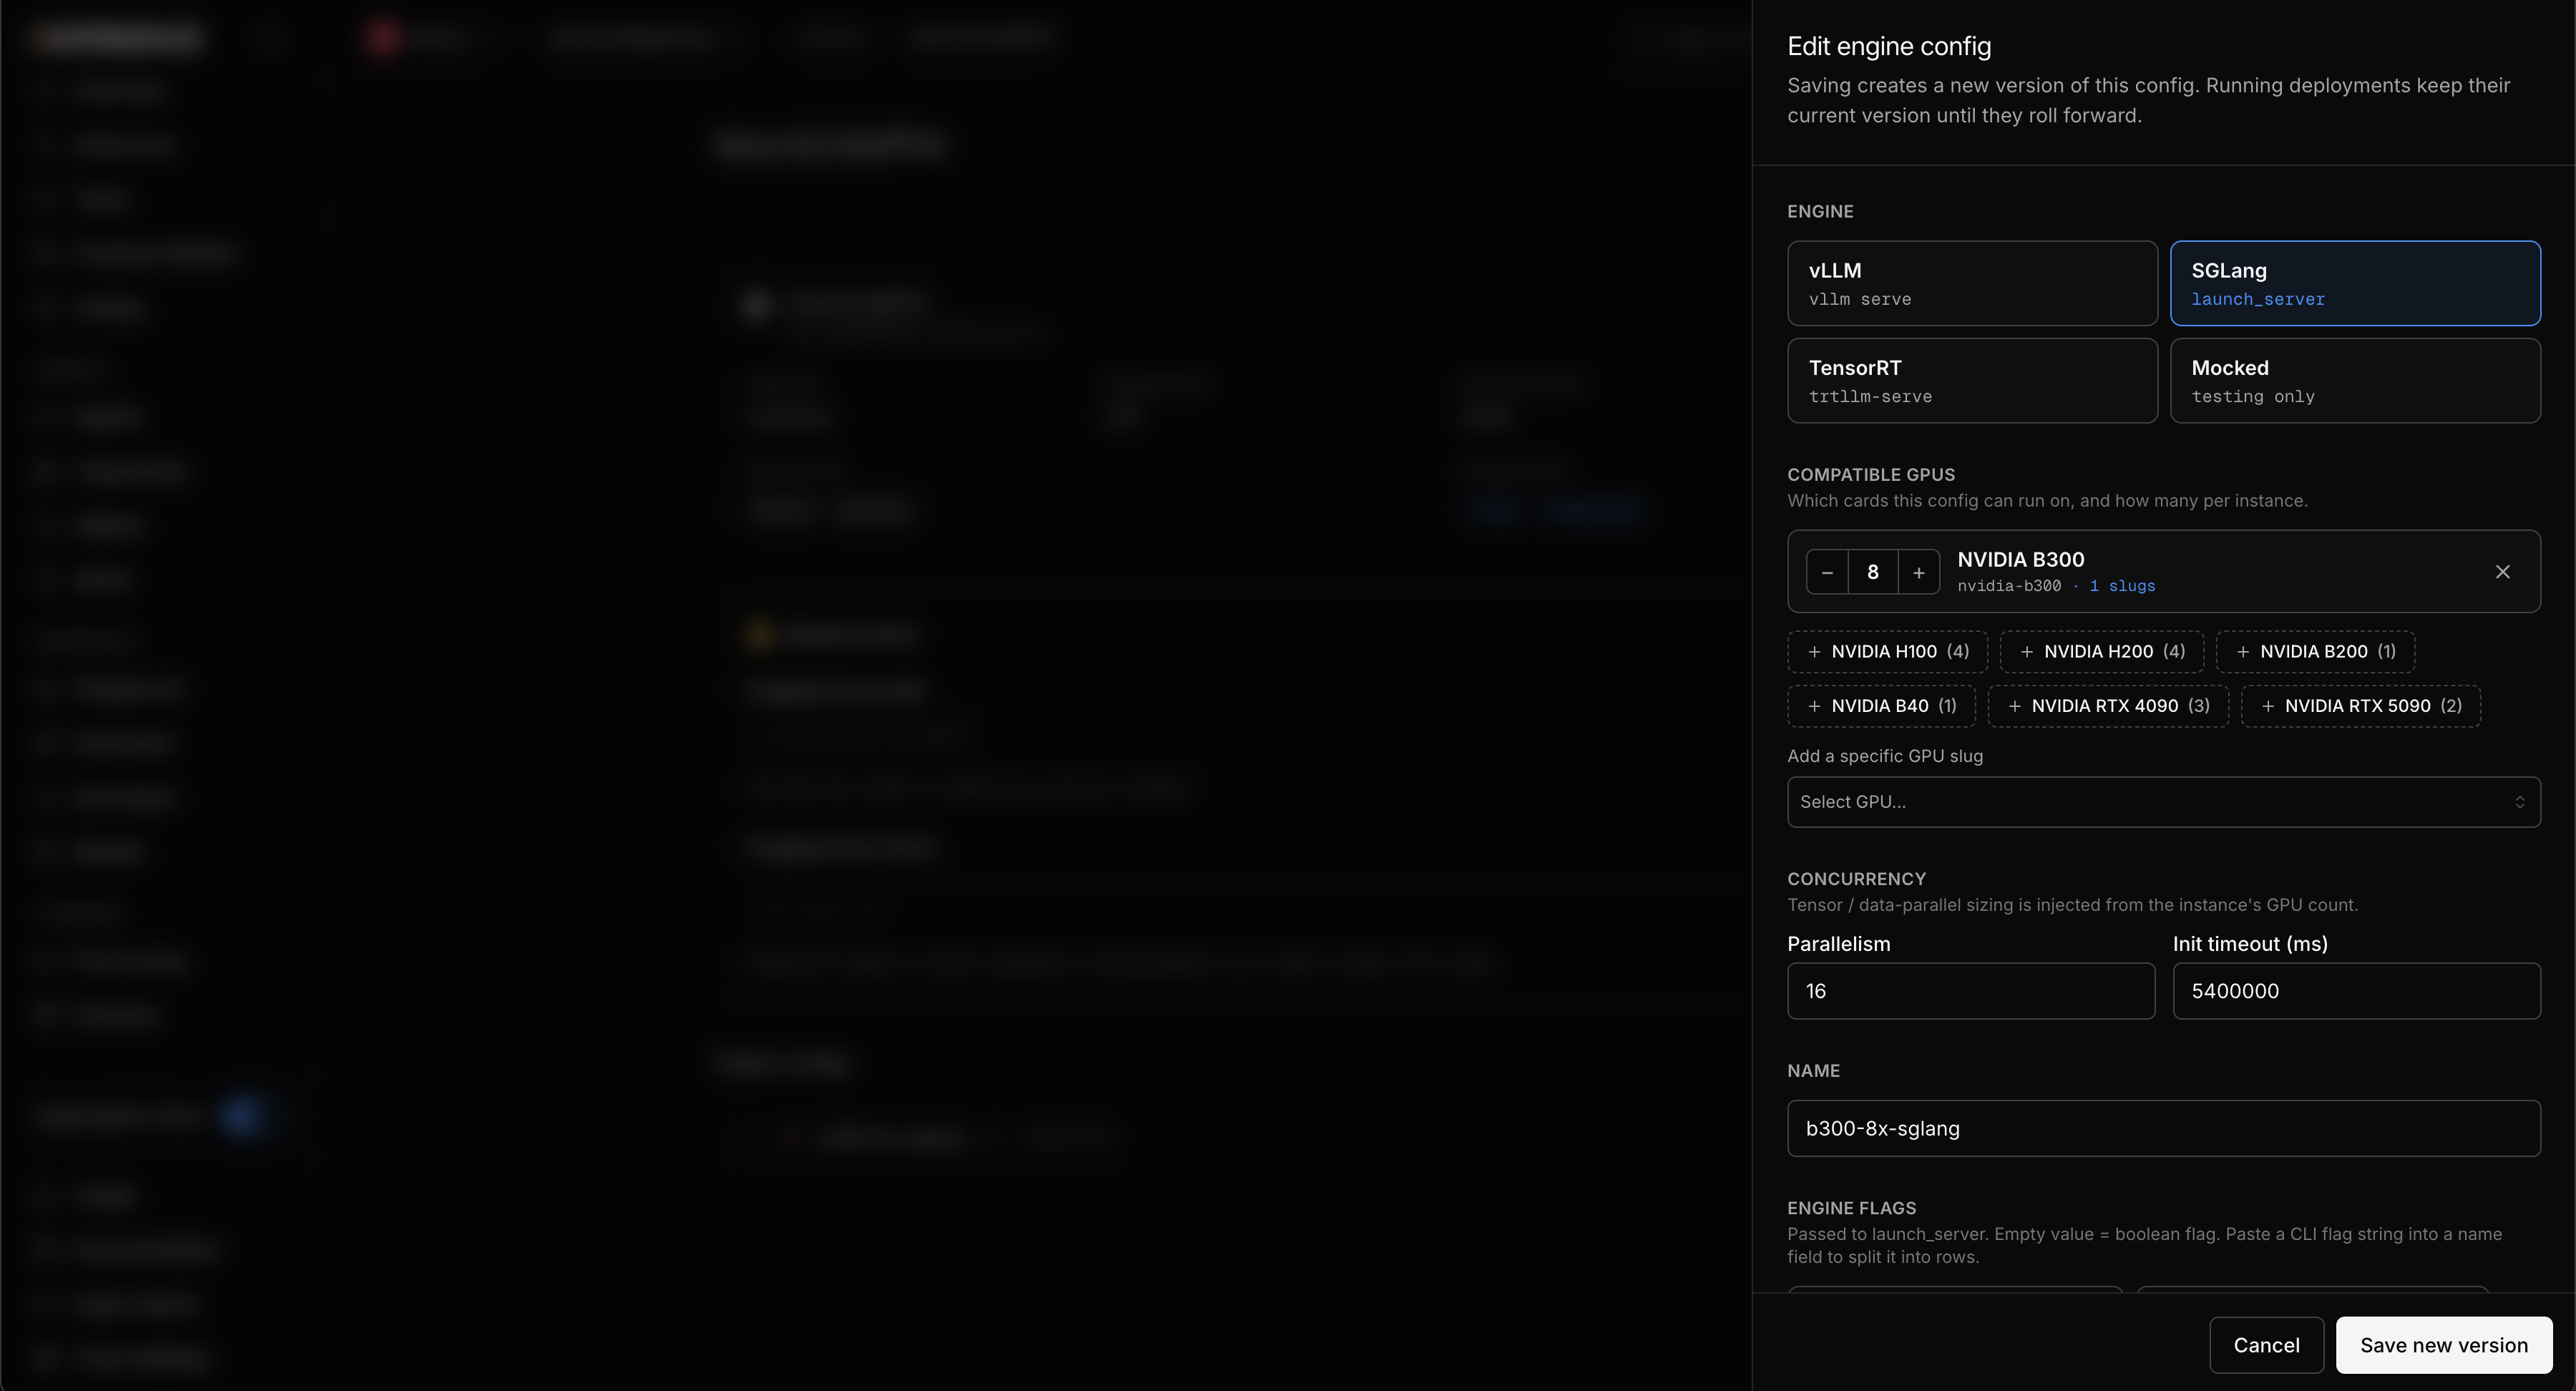
Create the deployment
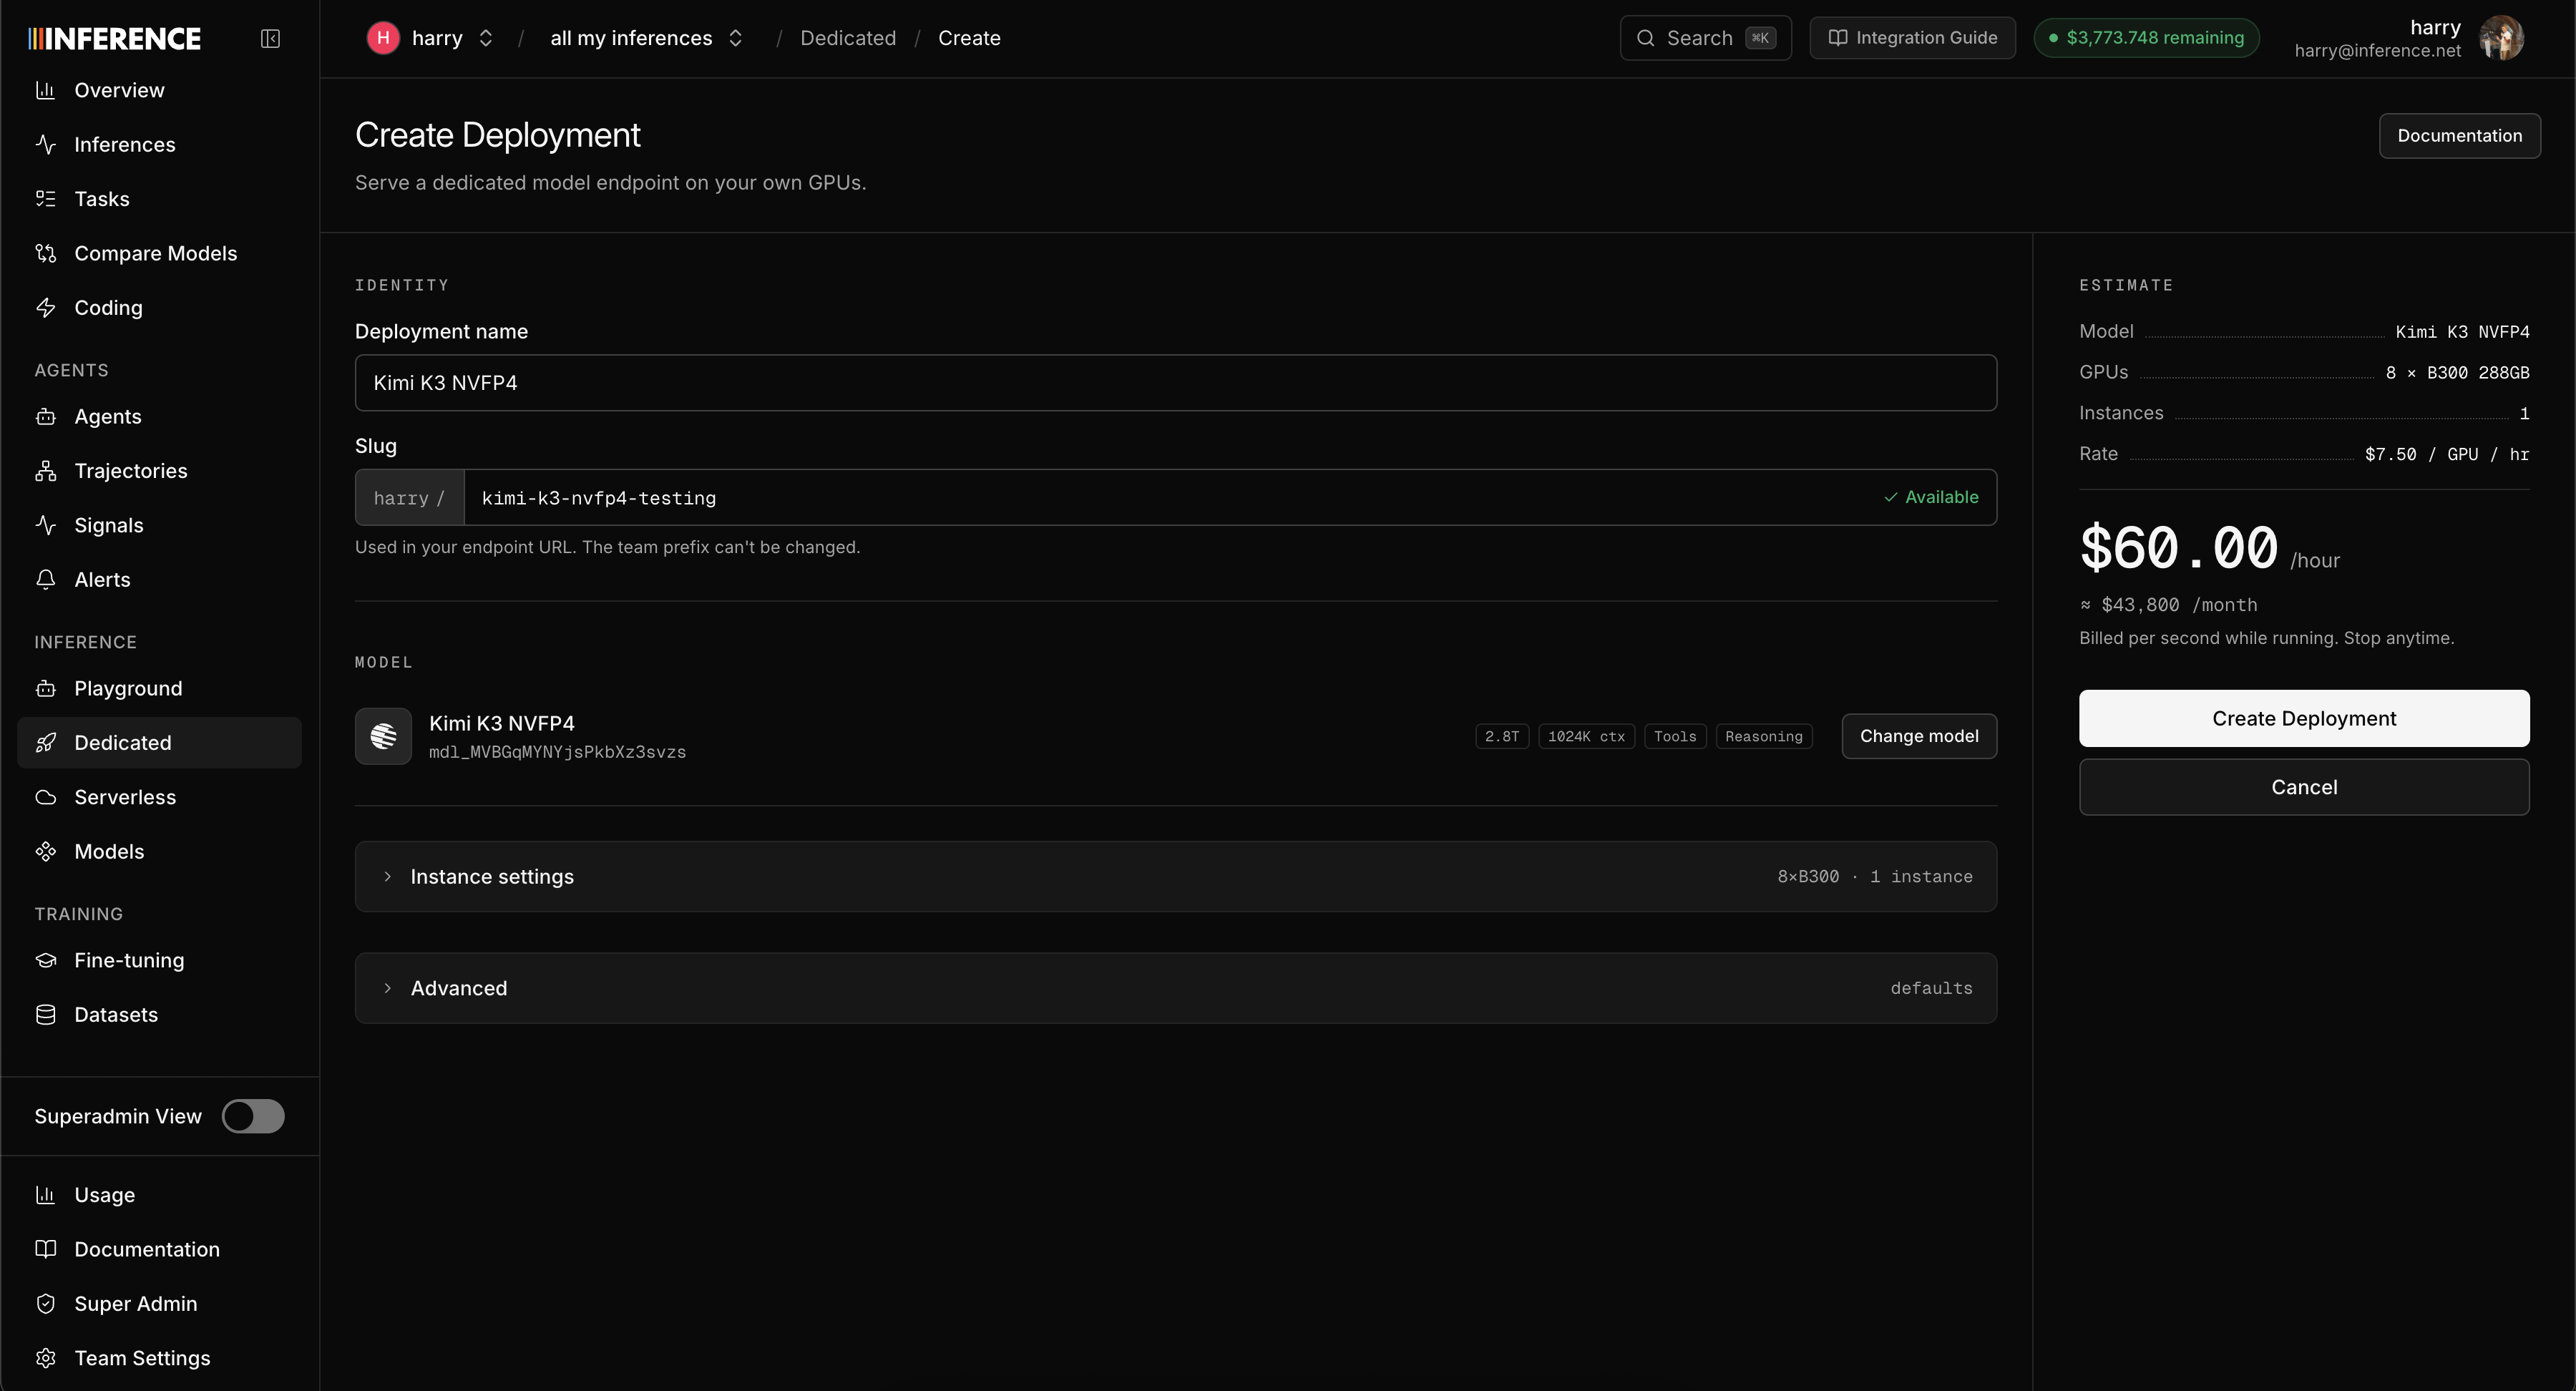
Click the deploy button to create a deployment. Pick a deployment name, an instance size, and create the deployment. Your endpoint is ready after warm-up. See Deploy a Trained Model for what happens next.
After the deployment is live
Once the endpoint is up, call it with the same OpenAI-compatible API you use elsewhere. Set model to your deployment's model path, for example harry/kimi-k3-nvfp4-testing.